
Transform Your Space: DIY Splatter Painting Techniques


Introduction to Splatter Painting
Transforming your space can be as simple as adding a splash of color. One of the most exciting and creative ways to do this is through DIY splatter painting. This technique not only adds a unique flair to your walls but also allows you to express your artistic side. Whether you're a seasoned artist or a beginner, splatter painting is an accessible and fun project for all skill levels.
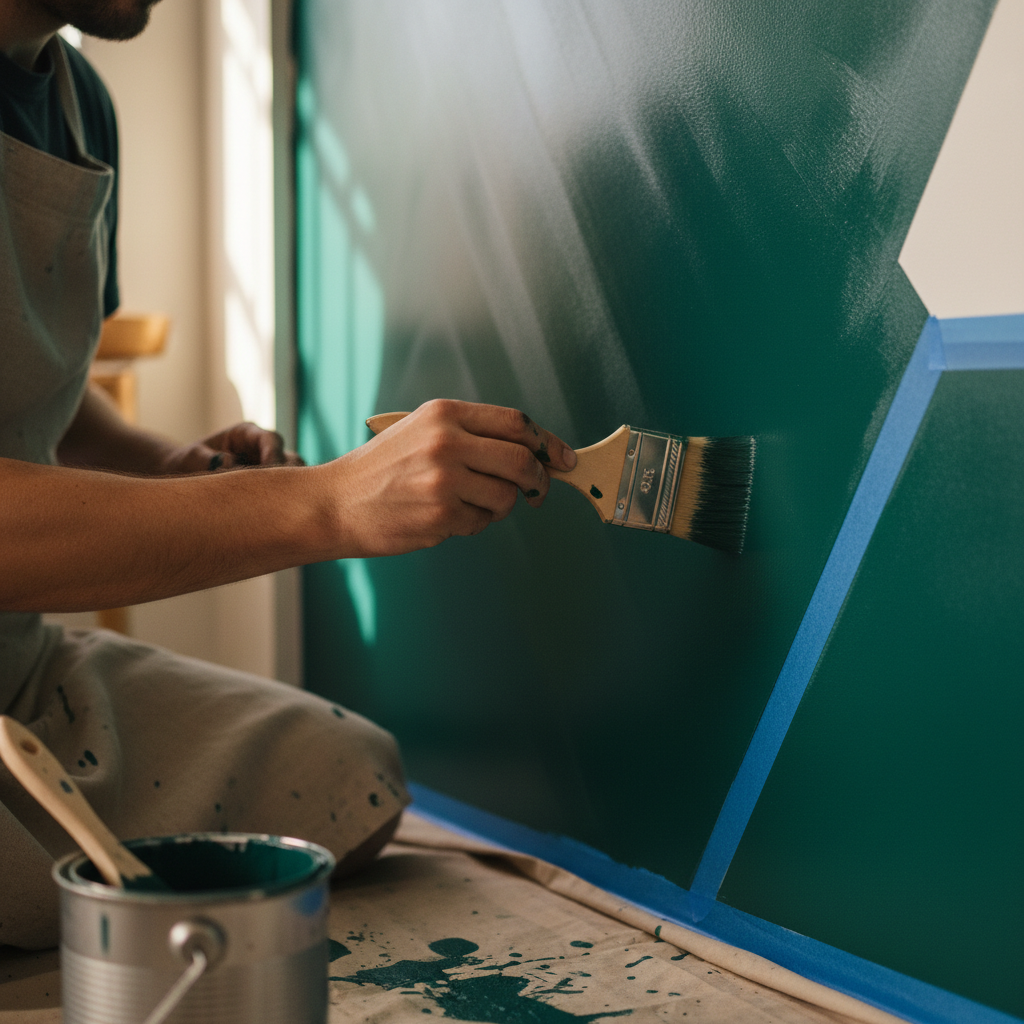
Gathering Your Materials
Before you begin your splatter painting adventure, it's important to gather all the necessary materials. You'll need:
- Acrylic or latex paint in your chosen colors
- Paintbrushes or splatter tools
- Protective gear such as gloves and goggles
- Drop cloths or plastic sheets to protect your floors
- Painter's tape for masking areas you want to keep clean
Having everything ready will make the process smoother and more enjoyable.
Preparing Your Space
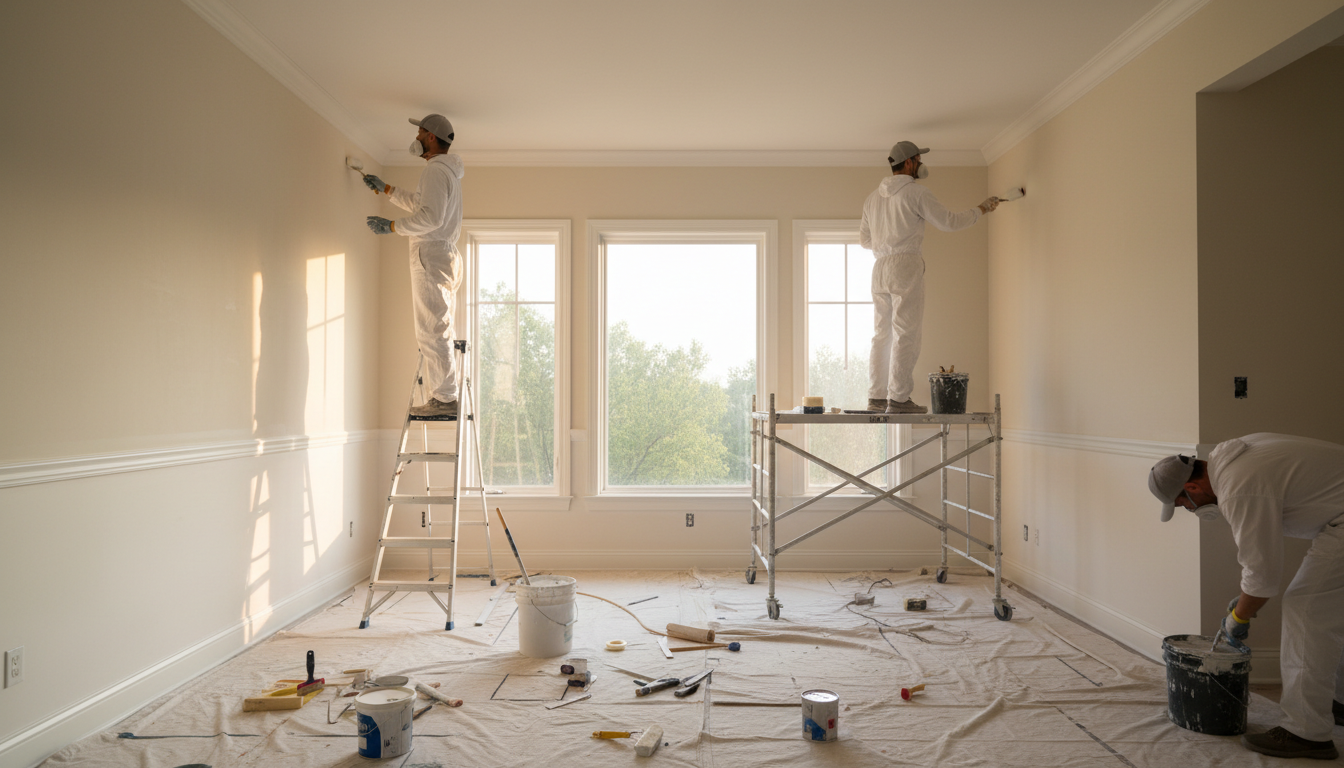
Preparation is key to a successful splatter painting project. Start by moving furniture away from the walls and covering the floors with drop cloths. Use painter’s tape to mask off areas you don't want to paint, such as ceilings, trim, and adjacent walls. This will ensure a clean and professional look once your project is complete.
Choosing Your Colors
The colors you choose can dramatically affect the mood and feel of your space. Consider your room's existing color scheme and decide whether you want your splatter painting to complement or contrast with it. Bold, bright colors can energize a room, while softer hues can create a more calming atmosphere. Don't be afraid to mix and match to find the perfect combination for your project.
Mastering the Technique
To achieve the perfect splatter effect, practice different techniques. You can flick paint off your brush for small splatters or use a larger tool for bold, dramatic strokes. Experiment with varying the amount of paint and the force of your throw to create different patterns. Remember, there's no right or wrong way to splatter—it's all about your personal expression.
Layering and Finishing
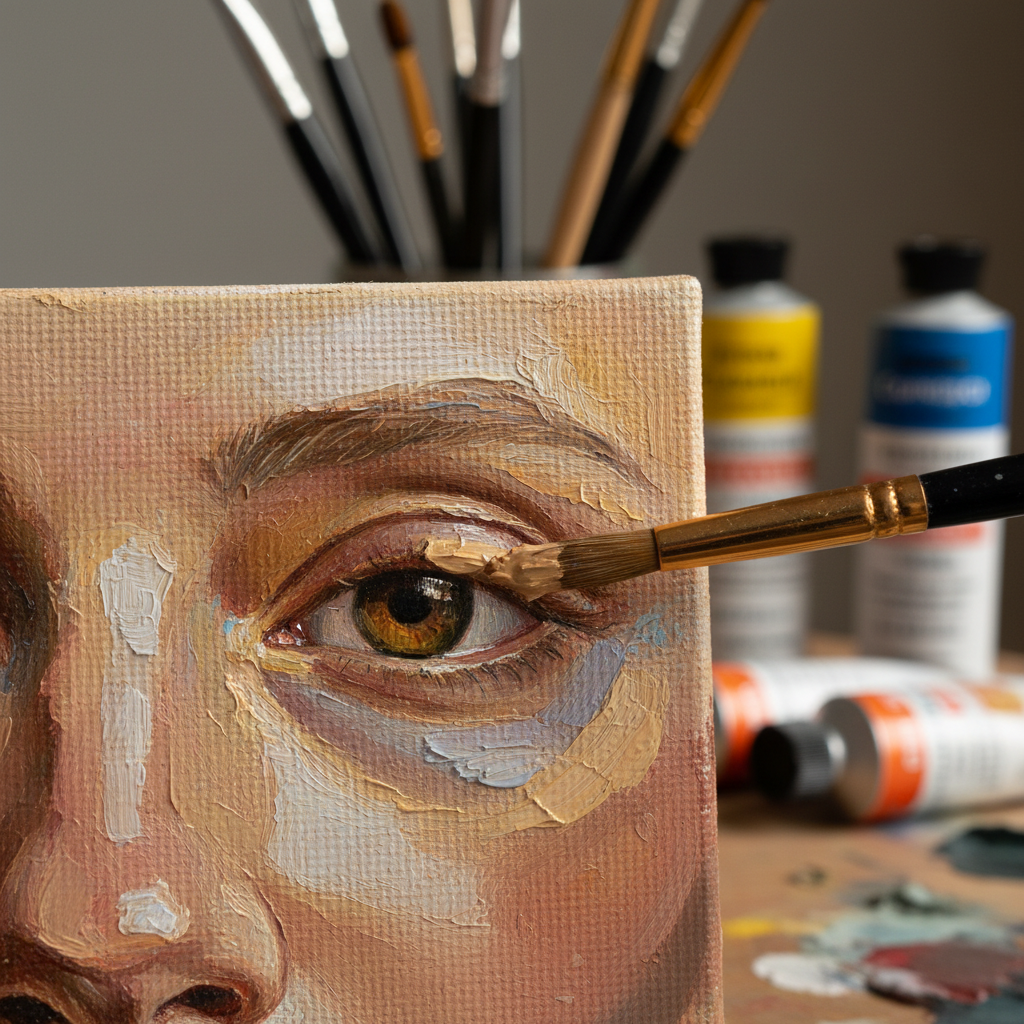
Layering different colors can add depth and interest to your splatter painting. Allow each layer to dry before applying the next to prevent colors from mixing unintentionally. Once you're satisfied with the look, remove the painter’s tape carefully to reveal crisp, clean edges. Consider applying a clear sealant to protect your masterpiece and enhance its longevity.
Incorporating Splatter Art into Your Decor
Your newly splattered wall can be a focal point in your room, but why stop there? Consider incorporating smaller splatter art pieces, such as canvases or decorative items, to tie the room together. This cohesive approach can help unify your design and create a harmonious aesthetic.
By following these steps, you can transform your space with a personalized touch that reflects your unique style. Splatter painting is more than just a trend; it's a creative journey that can bring joy and vibrancy to any environment.